


How to Repair a Plastic Car Bumper Yourself

A damaged bumper doesn’t just look untidy—it can also reduce your car’s value. Fortunately, many types of bumper damage can be repaired by yourself, provided you have the right products and a clear step-by-step plan.
In this blog article, we’ll explain step by step how to repair a plastic bumper yourself, what you’ll need, and how to achieve a professional result. From cracks and scratches to holes in your car bumper.
Step 1: Identify the type of bumper damage
Before getting started, it’s important to determine the type of damage. Each type requires a different approach and specific products. Take a moment to assess what exactly needs repairing. The three most common types of damage are:
- Scratches in the paint
- Cracks in the plastic
- Holes or deep dents
Step 2: Gather the right materials
To repair a plastic bumper, you’ll need the following items:
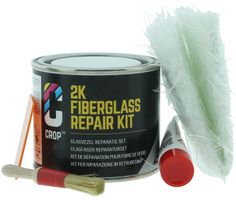
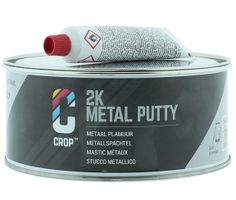
- 2K car filler (for cracks or holes)
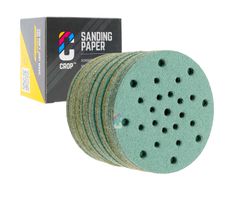
- Sandpaper (grit P80 – P400)
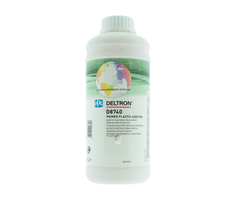
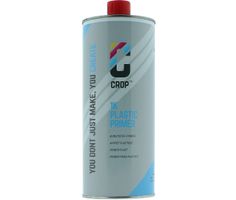
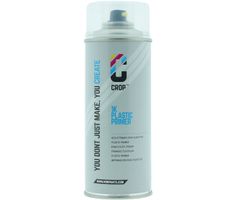
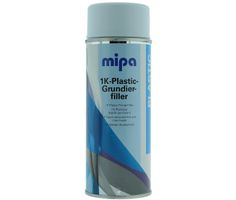
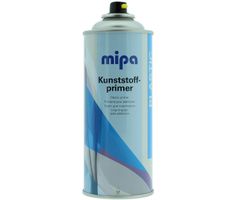
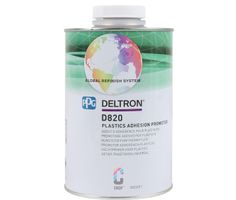
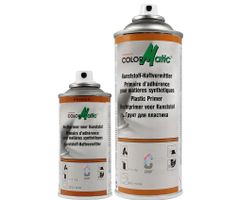
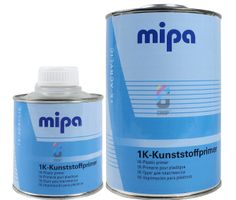
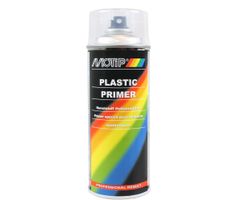
- Plastic primer and optional reinforcement mesh
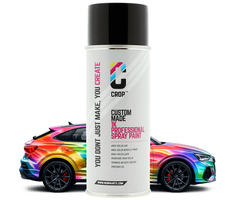
- Car paint or bumper paint (matched by color code)
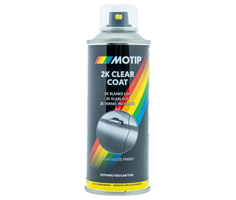
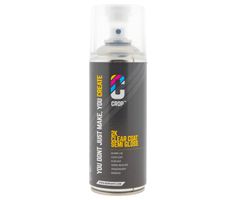
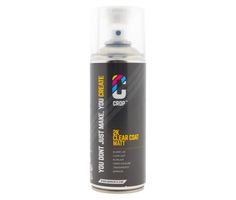
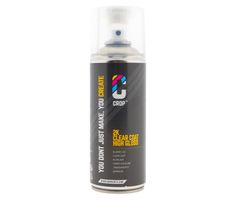
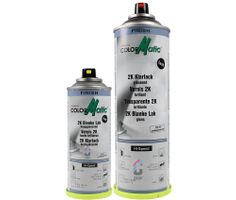
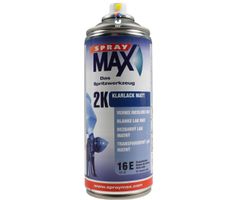
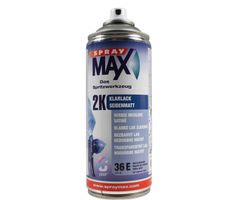
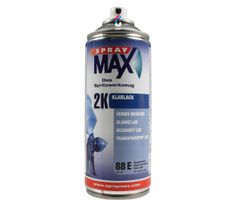
- 2K clear coat
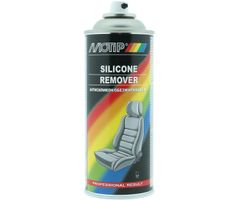
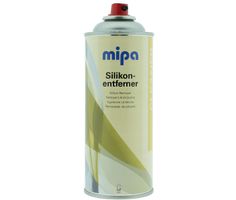
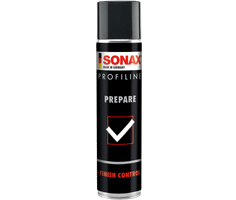
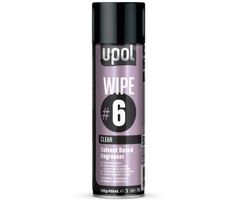
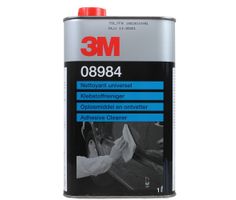
- Degreaser
- Personal protective equipment such as a spray mask, gloves, and coveralls
With these products, you’ll be fully equipped to repair bumper damage on your own.
Step 3: Clean and degrease the bumper
Start by thoroughly cleaning the bumper. Use a powerful degreaser to remove dirt, grease, and old wax layers. This ensures good adhesion for the filler and paint. Don’t forget the inside of the bumper if you’re repairing a crack or hole.
A clean surface is essential for a smooth finish.


Step 4: Repair holes or cracks in the plastic
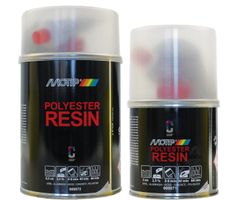
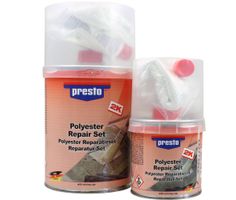
Is there a crack or hole in the bumper? Then apply a fiberglass mat and polyester resin to the inside of the bumper. This provides strength and prevents the crack from reopening. Let the reinforcement cure completely before applying filler.

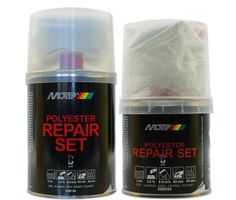


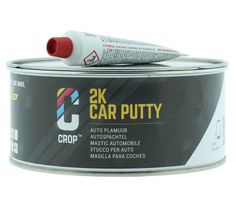
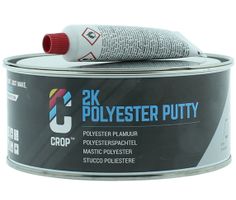
Step 5: Apply 2K car filler
Use a special 2K filler to fill the damage and restore the bumper’s original shape. Apply the filler in thin layers, allowing each one to dry. Gradually build up the shape until it looks right again.
Make sure the filler is fully cured before sanding.

Step 6: Sand the surface smooth
Once cured, sand the filled area with grit 180 to grit 400 sandpaper for a smooth, even surface. Lightly round off the edges for a seamless transition to the original bumper. For best results, use a sanding block or an orbital sander.
Step 7: Apply primer for optimal adhesion
Spray the sanded area with a plastic primer. This ensures good adhesion of the paint to both the filler and the plastic. Let the primer dry completely according to the instructions. When in doubt: apply two thin coats for a perfect base.


Step 8: Spray the bumper with color
Use a car paint spray can matched to your color code, or specially mixed bumper paint, to coat the repaired area. Spray in several thin layers and keep a distance of 20–30 cm to prevent runs. Let each coat dry thoroughly before applying the next.
Step 9: Protect the paint with 2K clear coat
After the color coat has dried completely, spray a layer of 2K clear coat. This gives a glossy finish and protects against UV, dirt, water, and stone chips. Apply in thin, even layers. Allow at least 24 hours to cure before using the car again.


Scratches on your car bumper? Here’s how to fix them
Dealing with surface-level scratches in your bumper paint? These can often be polished away. Use an orbital polisher with a coarse polish and a firm pad.
If the scratches are deeper and can be felt with your fingernail, repainting is necessary. In that case, follow the complete step-by-step repair guide above.
CROP: Your bumper repair partner
At CROP, you’ll find everything you need to professionally repair bumper damage yourself. From filler and paint to sandpaper and safety gear: we only supply high-quality products trusted by DIYers and professionals. Explore our full range on NonPaints.com and repair your bumper with confidence!

