


How to Clean Your Paint Spray Gun Properly

A paint spray gun that is clean is the basis for a flawless spray result. By properly cleaning your spray gun, the material keeps spraying evenly, preventing blockages or irregularities during spraying. In this blog article, we explain step by step how to best clean your paint spray gun, which products you need, and what to watch for during maintenance.
Why cleaning your paint spray gun is essential
A well-maintained paint spray gun delivers a better final result and lasts longer. Paint residue in the nozzle, air cap, or material passages can lead to clogged channels, an irregular spray pattern, or even damage to the spray gun. Regular cleaning prevents this and ensures you can always work efficiently and accurately.
Do you use your spray gun daily? We recommend thoroughly cleaning the spray gun at least once a week.
What you need to clean your paint spray gun
For a complete and thorough cleaning of your paint spray gun, you will need several products. Make sure you have everything ready beforehand:
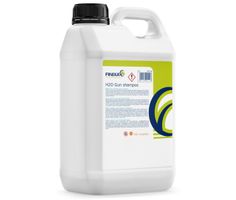
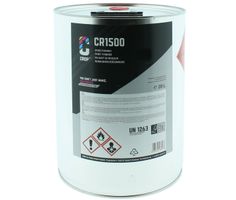
- Rinse thinner or water-based cleaning agent (for waterborne paints)


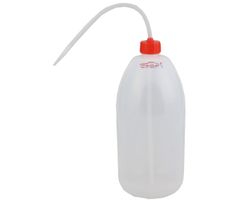
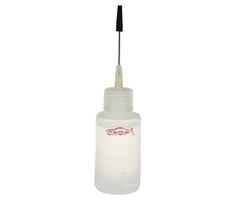
- Dosing bottle with bent neck

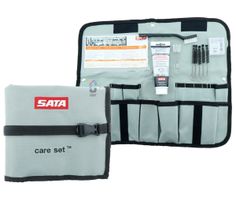
- Spray gun cleaning kit with brushes, needles, and a wrench
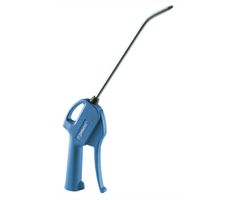
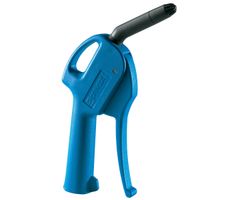
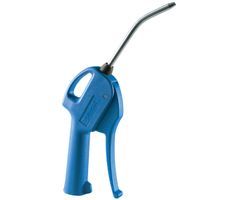
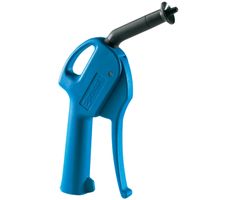
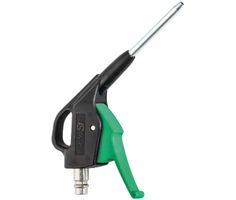
- Air blow gun for connection to the compressor
-
 The price depends on the options chosen on the product page


- Silicone-free oil or grease
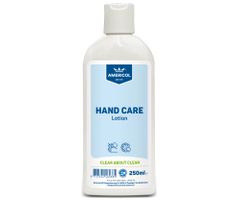
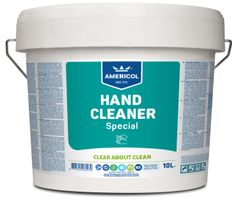
- Personal protective equipment like gloves, spray mask, and coveralls
- Lint-free cloths
These products make cleaning easier, safer, and more effective.
Follow a fixed procedure when cleaning
Cleaning a paint spray gun requires precision. By following a set sequence, you ensure all parts are thoroughly cleaned without missing anything.
Always start by disassembling the spray gun and then clean each part individually. Rinse all channels and parts thoroughly with cleaning agent, blow them dry with compressed air, and reassemble everything. Finally, use silicone-free oil to keep moving parts smooth.
Step 1: Carefully disassemble the spray gun
For thorough cleaning, some parts must be removed. Follow these steps:
- Loosen the needle adjustment screw on the back of the gun.
- Remove the paint needle and spring.
- Unscrew the air cap on the front.
- Loosen the nozzle using the supplied wrench.
Lay out the parts neatly on a clean cloth so you can easily reassemble them later.
Step 2: Thoroughly clean the material passages
Clean the inside of the gun using a cleaning agent and the brushes from the cleaning kit. Remove paint residues and rinse the passages using a dosing bottle with a bent neck to reach hard-to-access areas. Then use an air blow gun to blow all channels dry from front to back.
Step 3: Clean the air cap
The air cap contains small openings that can clog. Clean these with a soft brush and the fine brushes from the cleaning set. Rinse with cleaning agent and dry everything with compressed air. Ensure all air holes are completely clear for even atomization.
Step 4: Clean the nozzle precisely
The nozzle is a delicate but essential component. Clean the inside and outside with a brush and brushes. Rinse thoroughly with thinner and dry everything with compressed air. Pay extra attention to the air holes in the nozzle.
Step 5: Clean and maintain the paint needle
Clean the needle with a lint-free cloth soaked in rinse thinner. Then dry it with a new cloth. Lightly lubricate the needle with silicone-free oil to keep it moving smoothly.
Step 6: Reassemble all parts
Once everything is clean and dry, you can reassemble the spray gun:
- Screw the nozzle back into the gun body and tighten it.
- Place the air cap and set it in the correct position.
- Lightly lubricate the paint needle and insert it back into the gun.
- Attach the spring and needle adjustment screw, pull the trigger fully, and adjust the needle stroke.
- Wipe the entire gun with a lint-free cloth for a neat finish.
Important tips for safe cleaning of your spray gun
Pay attention to the following points for safe and long-lasting maintenance:
- Do not use regenerated thinner. Only A-grade thinner prevents oxidation.
- Never soak parts in cleaning agent for too long.
- Wear protective equipment such as a mask and gloves.
- For waterborne paints, always use H2O Cleaner or demineralized water.
These precautions protect not only your health but also the quality of your spray gun.
Keep your spray gun in top condition
By regularly and carefully cleaning your spray gun, you ensure a smooth spray result and extend the life of your equipment. With the right products and procedure, maintenance becomes a fixed, efficient routine. This way, your spray gun remains reliable, smooth, and ready for every project.
Do you have questions about cleaning your spray gun or are you curious about our cleaning sets and professional rinse thinner? The product specialists at CROP are ready to assist you personally! View our full range on NonPaints.com and work with the right tools for a perfect end result!

