


Fix Car Headliner with 3M Spray Adhesive: Guide & Tips

When the headliner in your car starts to sag, you can reattach it using special spray adhesive. In this blog article, you'll learn what you need, how to tackle the job yourself, and we’ll share practical tips for the best results.
Car headliner is coming loose. Why is that?
The headliner, also known as the roof lining, can detach over time. This doesn’t happen without reason. It's usually caused by a combination of heat, moisture, age, and material deterioration. Common reasons for a sagging headliner include:
- Temperature fluctuations can break down adhesives. Especially during hot summers, the roof can get extremely hot, degrading the original glue.
- Humidity and condensation can weaken the fabric, particularly if the car sits unused or is stored in a damp environment.
- Aged glue residue loses its stickiness over time, causing the fabric to peel away from the surface.
- Foam layer wear between the fabric and the roof can cause the structure to lose its shape.
Luckily, you can re-glue the headliner in your car yourself with the right products and method. We’ll show you how!
Preparation is key to success
Good preparation makes all the difference. Ensure a clean, dry, and well-lit workspace. Wear protective gloves and a protective mask. Ideally work at room temperature between 15°C and 25°C.


Make sure to have the following materials ready to reattach the headliner:
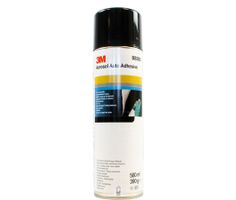
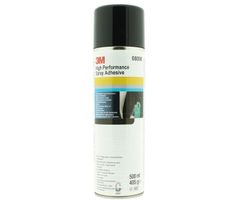
- 3M Spray Adhesive (3M 08080 or 3M 08090)
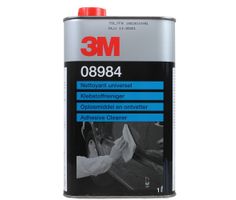
- 3M 08984 Degreaser
- Clean microfiber cloth
- Protective film or masking film
- Optionally, a paint roller or spatula for pressing
Choose the right 3M spray adhesive
At CROP, we recommend two high-quality spray adhesives from 3M:
- 3M 08080 Spray Adhesive: ideal for standard applications like fabric headliners.
- 3M 08090 Spray Adhesive: suitable for more demanding applications. This adhesive is extra strong and heat-resistant, perfect for hot interiors or engine bay insulation.
Both sprays feature an adjustable nozzle with two spray settings:
- L-mode: fine mist for even distribution.
- H-mode: heavier spray for more volume.
Step 1: Thoroughly clean the surface
Good adhesion starts with a clean and grease-free surface. Use the 3M 08984 Degreaser to clean the roof. It removes dirt, dust, oil, old glue, and other contaminants that can affect bonding. Apply with a microfiber cloth and let the surface dry completely.
Step 2: Apply spray adhesive evenly
- Shake the can well before use.
- Select your desired spray pattern on the nozzle.
- Hold the can about 10 to 20 cm away from the surface.
- Spray evenly across the entire area where fabric needs to stick.
For extra strength, you can apply adhesive to both the roof and the fabric.
Step 3: Let the adhesive dry briefly
After spraying, it’s important to let the glue dry for 5 to 15 minutes until it feels tacky. This ensures optimal bonding when applying the fabric.
Step 4: Carefully apply the fabric
Place the headliner onto the glued surface. Work from the center outward and smooth the fabric with your hands, a spatula, or a roller. Make sure no air bubbles or folds form. Press everything firmly.
Step 5: Immediately remove excess glue
Accidentally sprayed another surface? Don’t worry. Use the 3M 08984 Degreaser to immediately remove excess glue before it hardens.
Step 6: Let the glue fully cure
After application, let the headliner rest for several hours so the glue can fully cure. Avoid using the heater or A/C immediately to prevent sudden temperature changes.
Extra tips for a clean car headliner repair
- Work in a well-ventilated area.
- Avoid open flames or smoking while working.
- Protect the rest of the interior with masking film.
- Be precise and take your time.

