


Polish Car Windows: Step-by-Step Guide

Do you want to remove scratches from your car window and make the glass clear again? Polishing your car window is an effective and affordable way to do it yourself. In this blog article, we explain step by step how to best polish car window glass, which products you need, and why you should not use toothpaste. This way, you avoid mistakes and achieve the best result.
What you need to polish glass
For polishing car windows, you need special products suitable for glass. Regular car detailing products or toothpaste are not powerful or safe enough for this. To properly polish glass so that the car window looks like new again, here is a list of products that will help you achieve professional results:
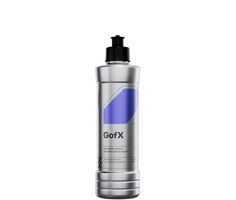
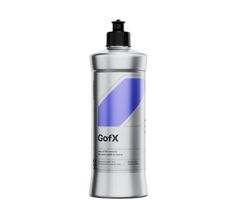
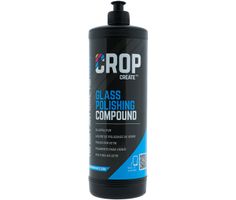
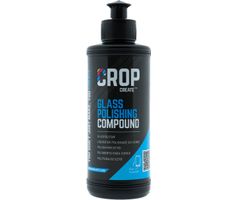
- Glass polish
- Rotary polishing machine (preferably not an eccentric one)
- Polishing felt for glass
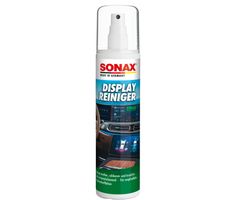
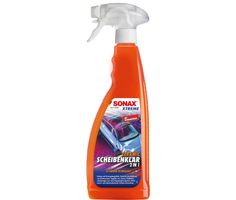
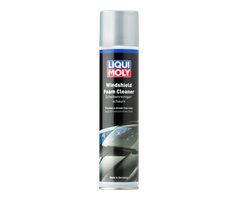
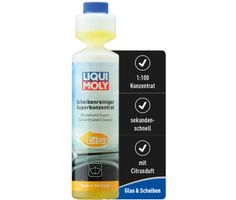
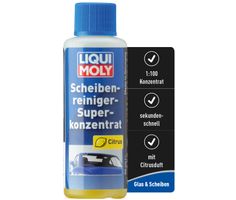
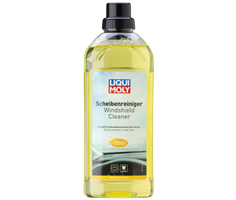
- Glass cleaner
- Polishing cloth and glass cloth
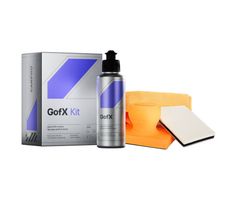
- Glass polishing kit (optional but convenient as a complete set)
Note: Always use products specifically developed for glass, as car windows are considerably harder than paint and therefore require a different treatment.
Step 1: Clean and degrease the car window
A clean and grease-free car window is important for a good result. Use a high-quality glass cleaner or degreaser to remove dirt, tar, tree sap, and other contaminants. This prevents new scratches from appearing while polishing the car window.

Step 2: Apply the polish to the glass
Shake the glass polish bottle well before use. Then apply a small amount (about the size of a €2 coin) to the polishing felt or a cloth. Preferably use a rotary polishing machine for a more powerful and even distribution of the polish. Work in circular motions over the glass to treat the surface evenly.


Step 3: Polish until the polish is saturated
Continue polishing until the polish is saturated. You can recognize this by the product becoming dull and losing its effect. Are the scratches not completely gone yet? Then apply some more glass polish and repeat this step.
Step 4: Check the result in between
After each polishing session, it is important to check the result. Use a clean cloth to wipe off the polish and check the glass against the light. Still see scratches? Then repeat step 2 and 3 until the window is completely clear.

Step 5: Clean the glass completely
After polishing, there may be polish residue left on the glass. Clean the car window again with a glass cleaner and dry it with a clean glass cloth. This keeps the glass clear, clean, and ready for use.
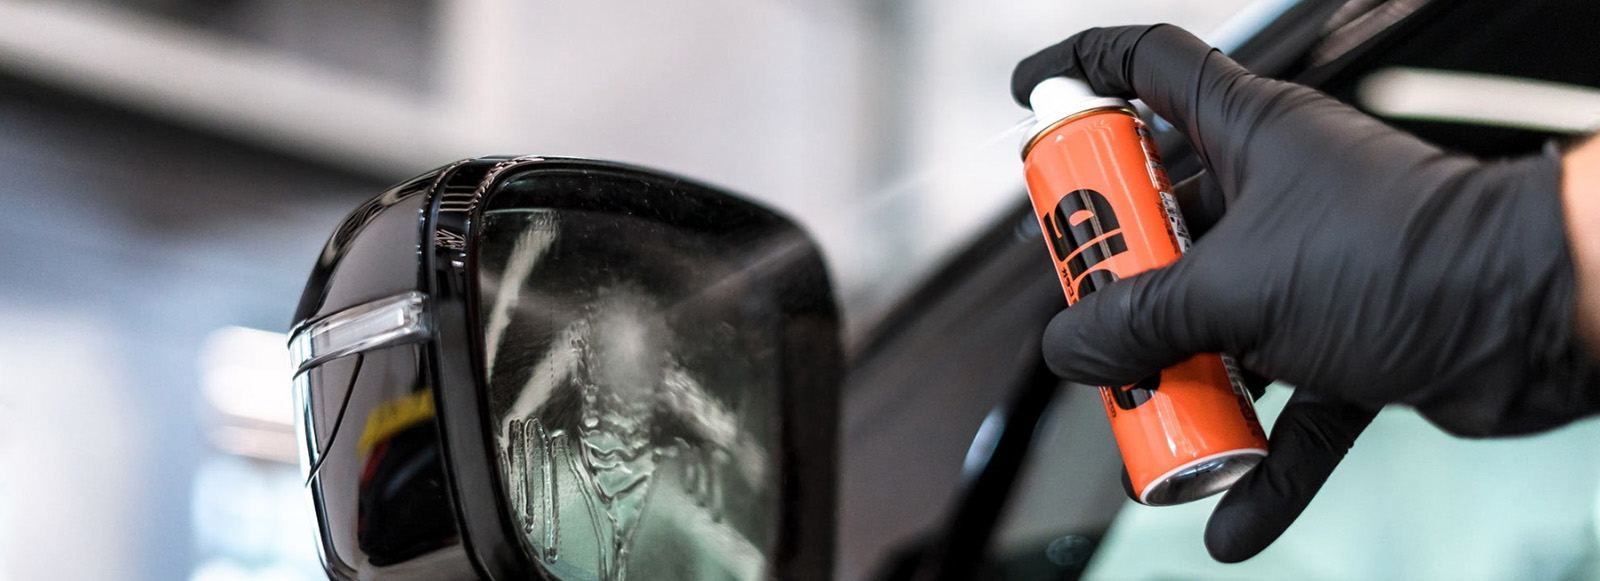
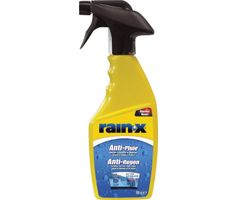
Protecting the car window with glass sealant
Do you want to maintain the result of your polishing job as long as possible? Then applying a glass sealant is recommended. This provides a dirt- and water-repellent effect (like Rain X), which improves visibility during rain and helps prevent scratches. By protecting your car window with a glass sealant, you will enjoy a new-like window for a long time!
-
 OfferThe price depends on the options chosen on the product page
 -
-
 The price depends on the options chosen on the product page


Why polishing car window scratches with toothpaste is not a good idea
Online, you sometimes read that you can remove glass scratches with toothpaste. Although toothpaste has a light abrasive effect, it is not suitable for car windows. The abrasive particles are too mild to effectively remove real scratches and may even cause stains or a dull result. Therefore, always use a special glass polish developed to safely and effectively remove scratches without damaging the glass. This way, you avoid disappointments and extra work with additional costs.
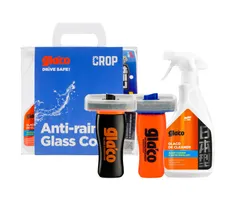
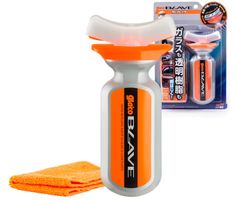
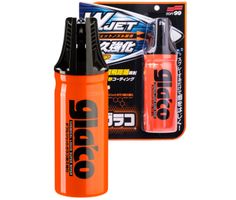
Extra tip: use a glass polishing kit
Do you want to handle everything properly at once and preferably order a complete kit? Then choose a glass polishing kit. This usually includes:
- Glass polish
- Polishing felt
- Abrasive pads (for deeper scratches)
- Microfiber cloths
Make sure to use this set only with a rotary polishing machine. Eccentric machines do not provide the required result on glass.

